> For the complete documentation index, see [llms.txt](https://docs.defguard.net/llms.txt). Markdown versions of documentation pages are available by appending `.md` to page URLs; this page is available as [Markdown](https://docs.defguard.net/2.2/using-defguard-for-end-users/desktop-client/using-multi-factor-authentication-mfa.md).
# Using Multi-Factor Authentication (MFA)
MFA is configured per location, and administrators choose whether a location uses internal MFA or an external OIDC/SSO provider.
Depending on location settings, you may use:
* Internal MFA - You must have at least one MFA method configured in your profile. For a detailed tutorial, [check out this article](/2.2/using-defguard-for-end-users/setting-up-2fa-mfa.md).
* External MFA - You will be redirected to an external site, where authentication is handled by your OIDC provider, for example Google/Microsoft.
## External MFA
### Desktop client in tray view mode
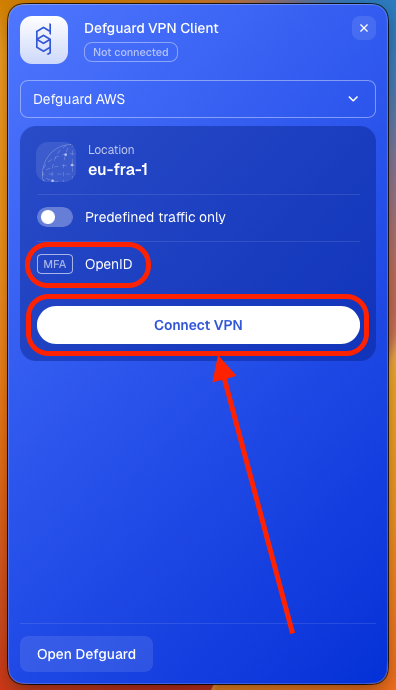
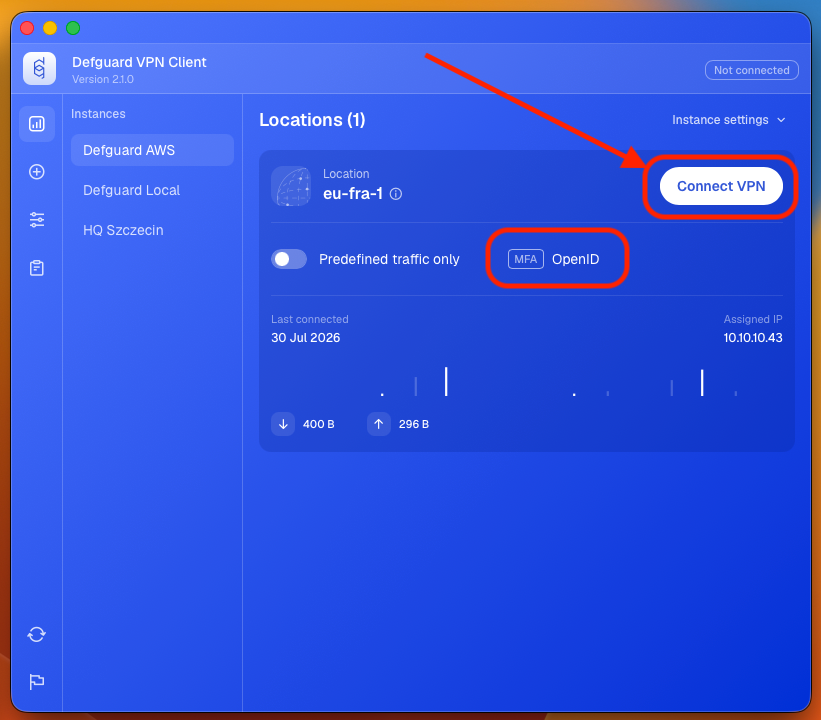
1. Click **Connect VPN** on the location with the **OpenID** label
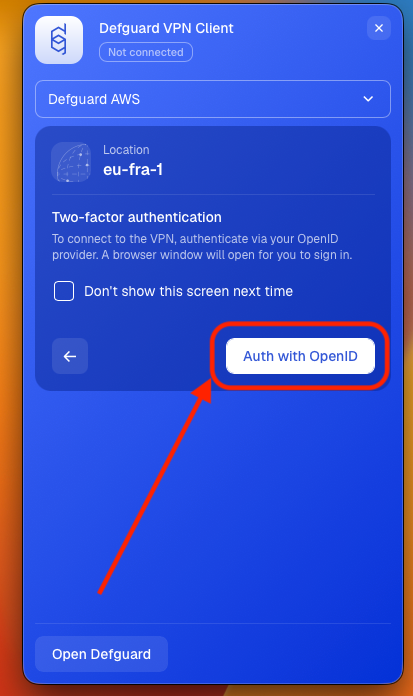
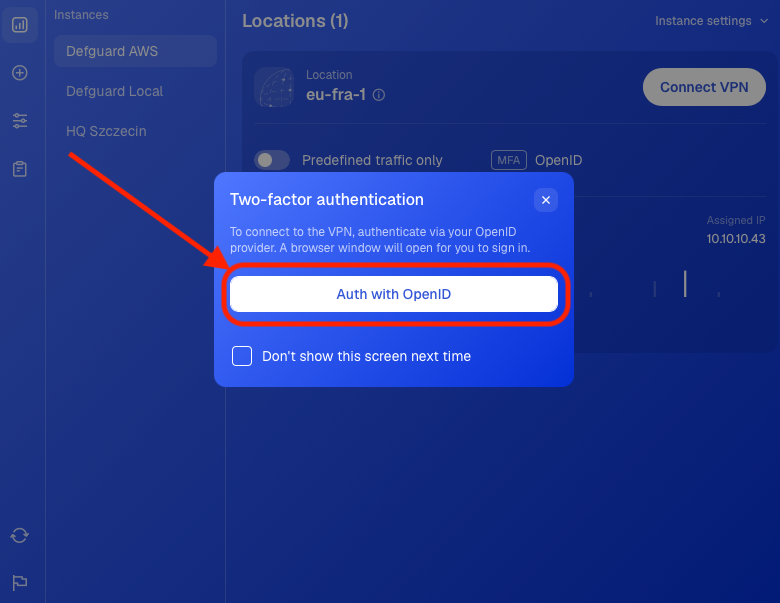
2. Click **Auth with OpenID**, you will be redirected to a secure site where you will need to log in in order to confirm your identity. (Google, Microsoft, Okta, etc.)
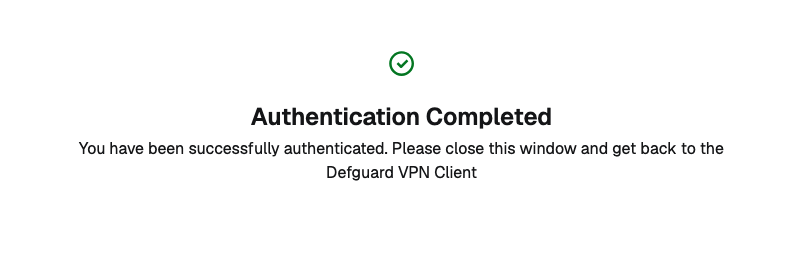
3. After confirming your identity (logging in) you will see the "Authentication Completed" message.
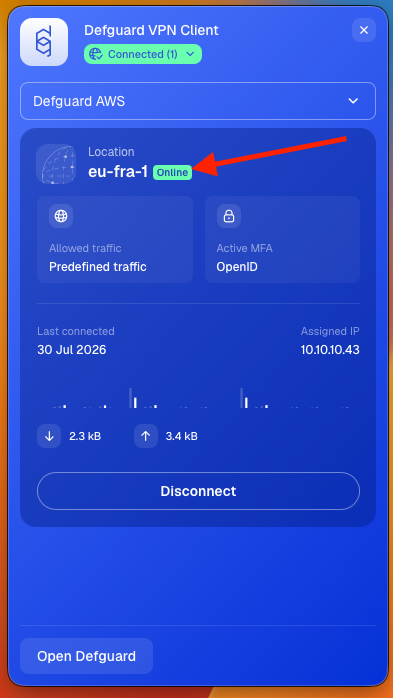
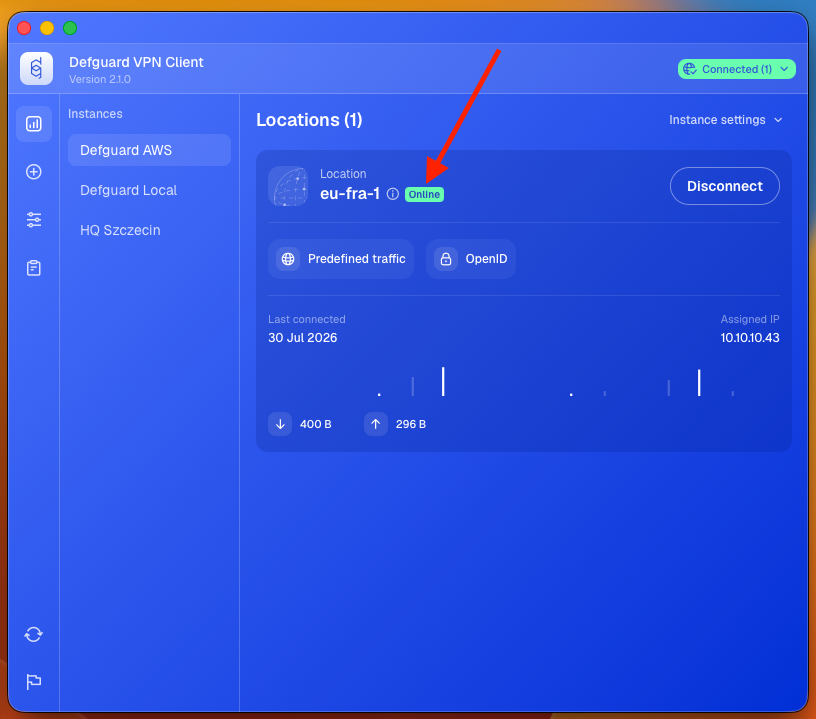
4. Now you can close this window and go back to the Defguard Client. Your connection will be established immediately.
### Desktop client in full view mode
1. Click **Connect VPN** on the location with the **OpenID** label
2. Click **Auth with OpenID**, you will be redirected to a secure site where you will need to log in in order to confirm your identity. (Google, Microsoft, Okta, etc.)
3. After confirming your identity (logging in) you will see the "Authentication Completed" message.
4. Now you can close this window and go back to the Defguard Client. Your connection will be established immediately.
## Internal MFA
### Desktop client in tray view mode
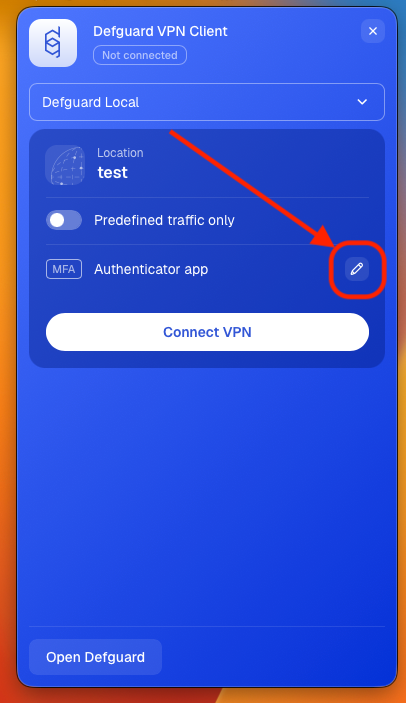
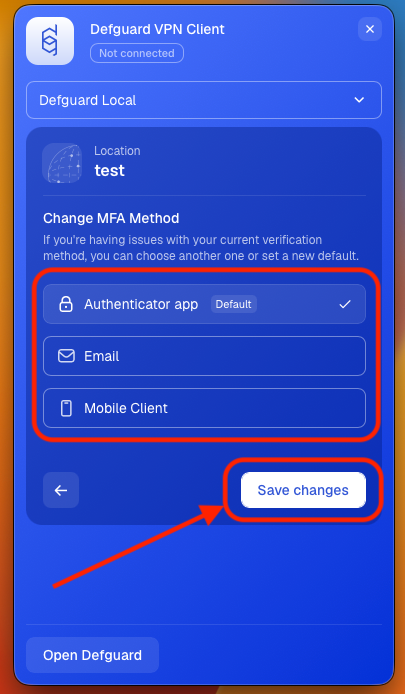
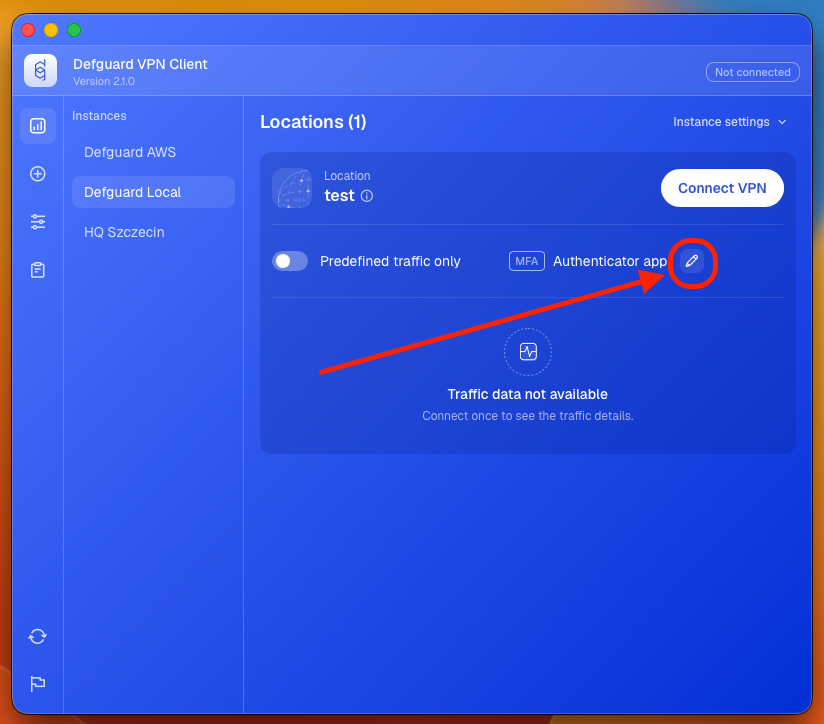
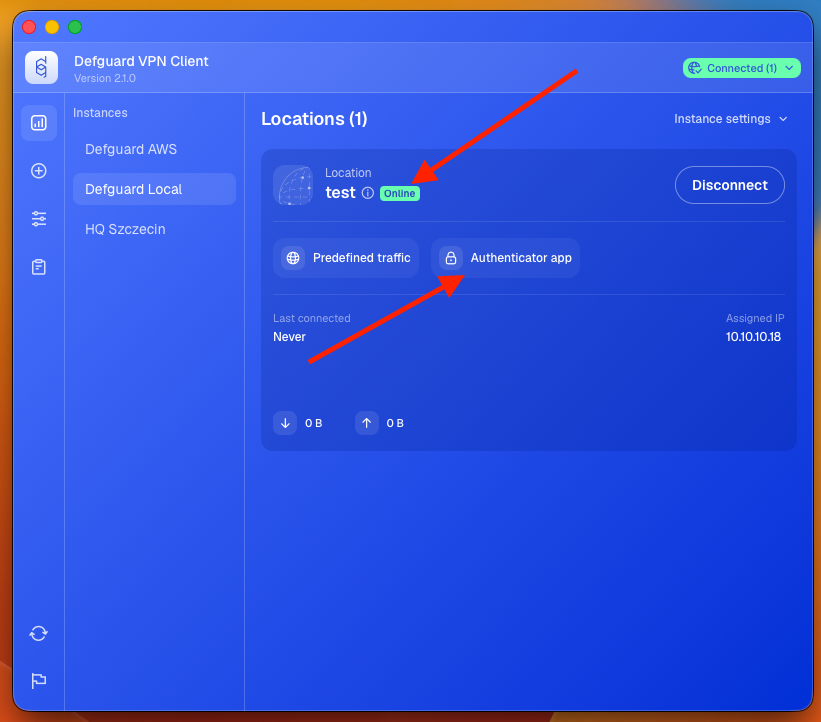
1. If you are connecting to a location for the first time, click the pen icon on the right side of the panel. If not, skip to step 3.
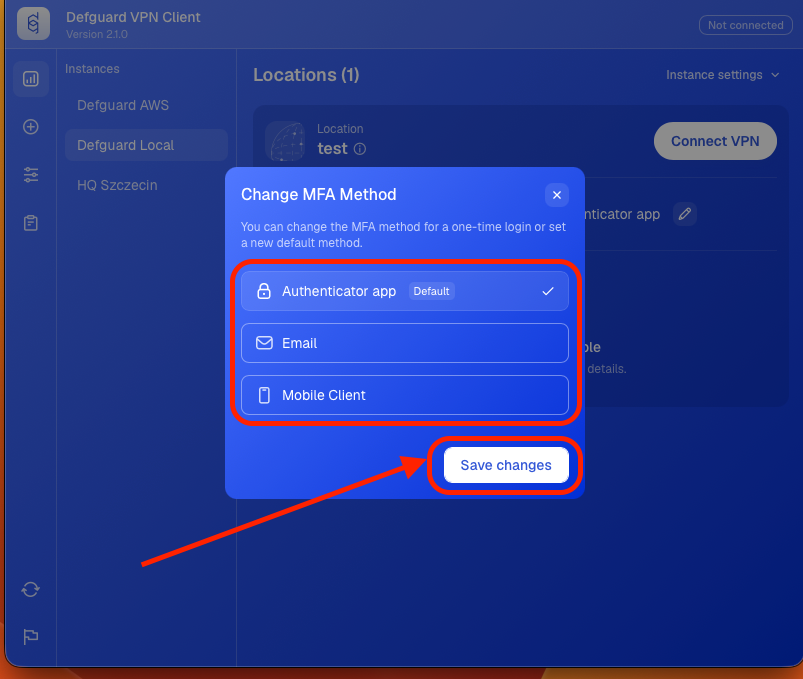
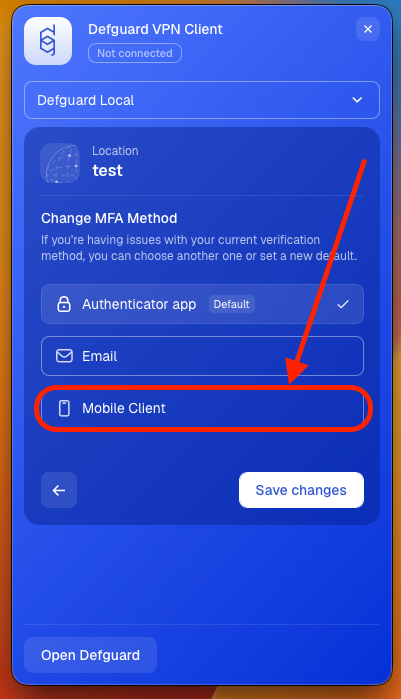
2. Choose the MFA method configured in your profile and click **Save changes**. If you haven't configured any of them, do it as described in [this guide](/2.2/using-defguard-for-end-users/setting-up-2fa-mfa.md#setting-up-2famfa).
{% hint style="info" %}
If you need a guide explaining how to use Mobile Client as your MFA method, please [scroll down](#multi-factor-authentication-via-mobile-biometry).
{% endhint %}
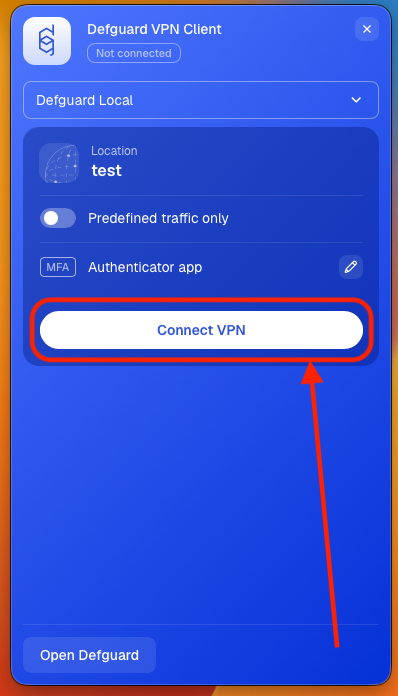
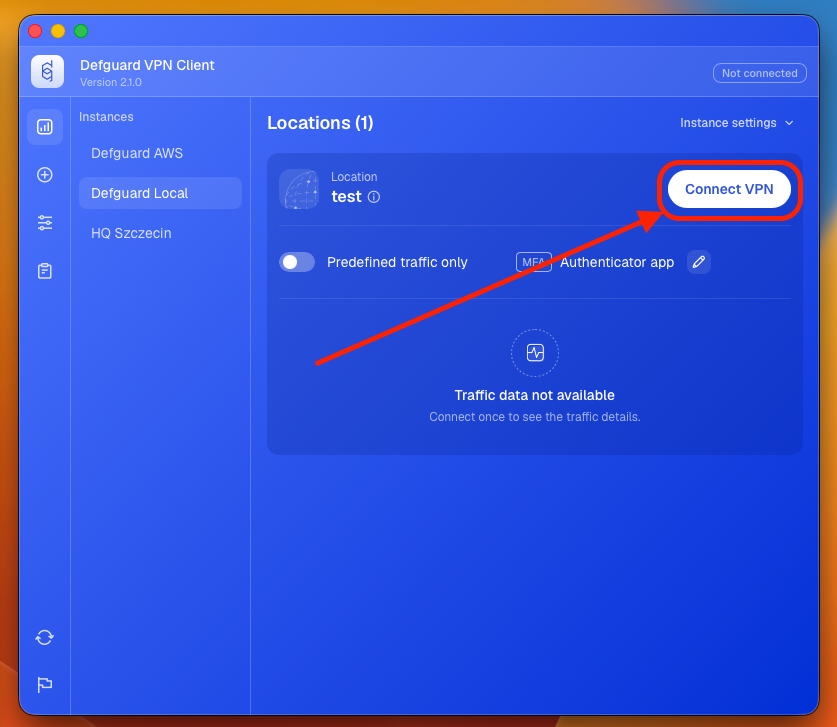
3. Click the **Connect VPN** button on the location.
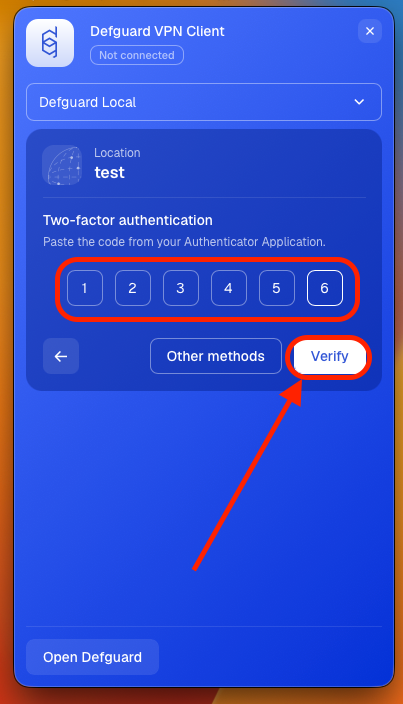
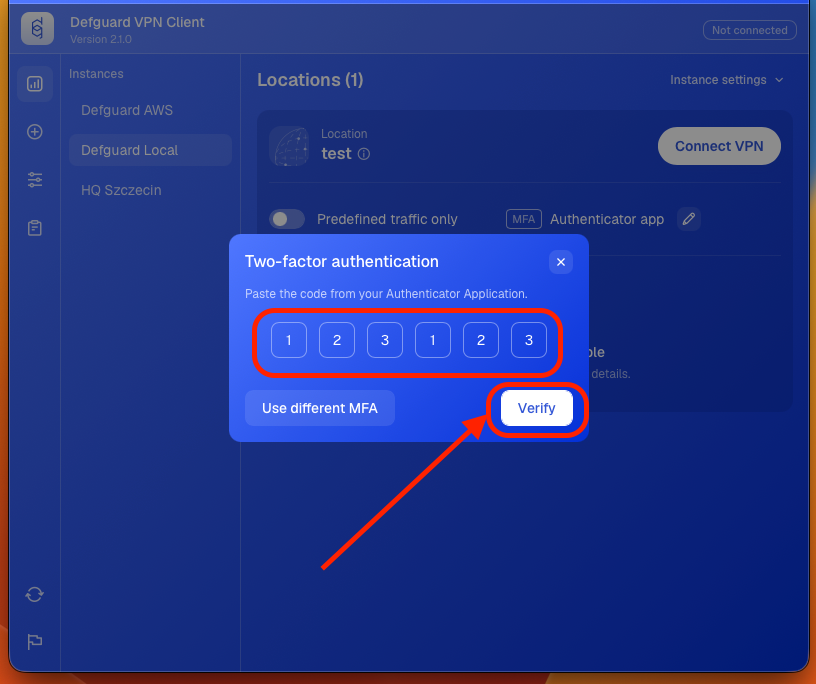
4. Enter the code from your Authenticator app or Email (depending on your choice in step 2) and click **Verify**.
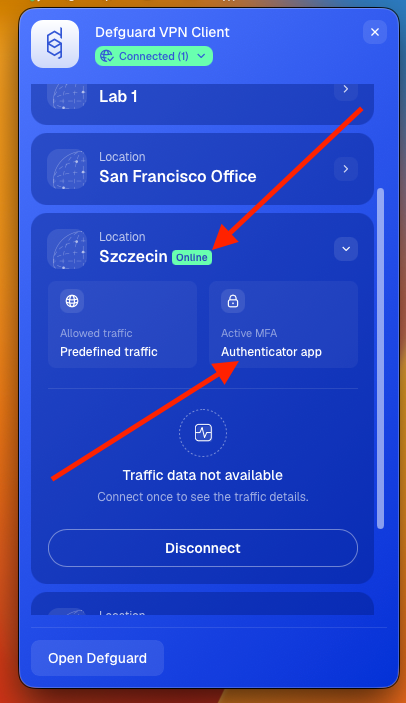
5. Your VPN connection will be established immediately.
### Desktop client in full view mode
1. If you are connecting to a location for the first time, click the pen icon on the right side of the panel. If not, skip to step 3.
2. Choose the MFA method configured in your profile and click **Save changes**. If you haven't configured any of them, do it as described in [this guide](/2.2/using-defguard-for-end-users/setting-up-2fa-mfa.md#setting-up-2famfa).
{% hint style="info" %}
If you need a guide explaining how to use Mobile Client as your MFA method, please [scroll down](#multi-factor-authentication-via-mobile-biometry).
{% endhint %}
3. Click the **Connect VPN** button on the location.
4. Enter the code from your Authenticator app or Email (depending on your choice in step 2) and click **Verify**.
5. Your VPN connection will be established immediately.
## Multi-Factor Authentication via Mobile Biometry
After configuring VPN on your mobile device and [enabling Biometry](/2.2/using-defguard-for-end-users/mobile-client/using-biometry-as-mfa-method.md#setting-up-biometry), we not only enable Biometry based connecting on a mobile device, but add an extra security layer to have the most secure/sophisticated MFA method available.
After enabling Biometry we create an additional private/public key pair, with the private key stored in hardware/secure storage, and indicate in the UI that this device can now be used for MFA using Biometry on a desktop client:
When you connect via desktop client to a location that has Internal MFA requirement, you can choose **“Mobile Client”** for MFA Method.
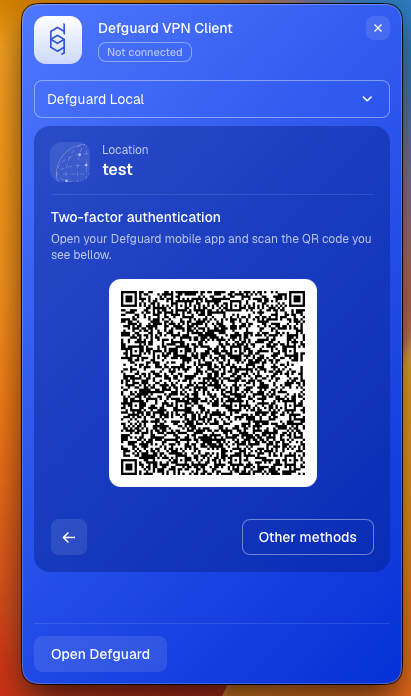
After selecting this method, before each connection you will see a QR code.
This QR code must be scanned on the mobile device for additional MFA steps:
1. Biometry authentication, that enables access to device secure storage
2. Additional validation with private/public key pair between mobile/desktop/core server. After that, our “normal” MFA flow (with session keys, WireGuard private/public keys) takes place.
Here is a video showcasing this process:
{% embed url="" %}
And here you can see the whole flow done with multiple steps including the user, desktop (and mobile) the Edge and Defguard Core and gateway in the final step: