> For the complete documentation index, see [llms.txt](https://docs.defguard.net/llms.txt). Markdown versions of documentation pages are available by appending `.md` to page URLs; this page is available as [Markdown](https://docs.defguard.net/2.0/features/wireguard/multi-factor-authentication-mfa-2fa/external-sso-based-mfa.md).
# External SSO based MFA
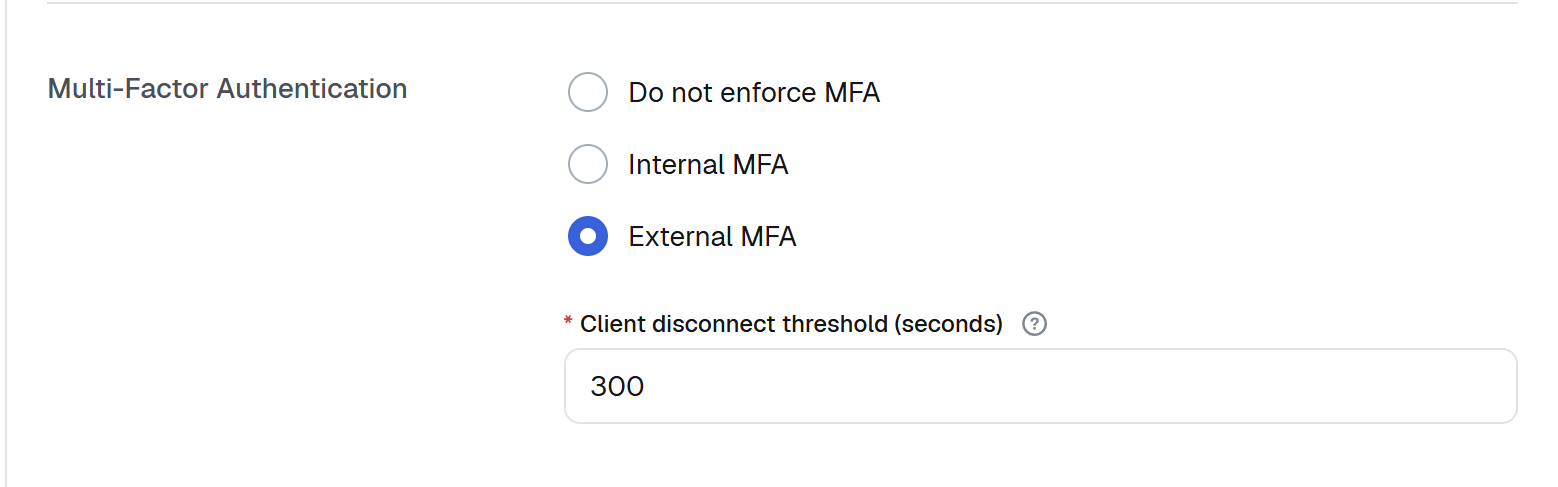
In order to enable the External MFA authentication:
1. Your instance **must have** [external OIDC/SSO configured](/2.0/features/external-openid-providers.md).
2. Choose **External MFA** during location configuration or edit the desired location from **Locations** list.
#### Client disconnect threshold
When MFA is enabled on a location, Defguard periodically (currently every **1 minute**) checks statistics if a client is connected and if the period of inactivity (defined in this option) is met, a client is disconnected.
Thus, the gateway needs to be configured to send statistics in that period.
{% hint style="info" %}
We recommend to set:
* Gateway to send statistics every 30sec
* Client disconnect threshold we recommend it to be min. 300 (5 min)
{% endhint %}
### Testing MFA on Defguard client
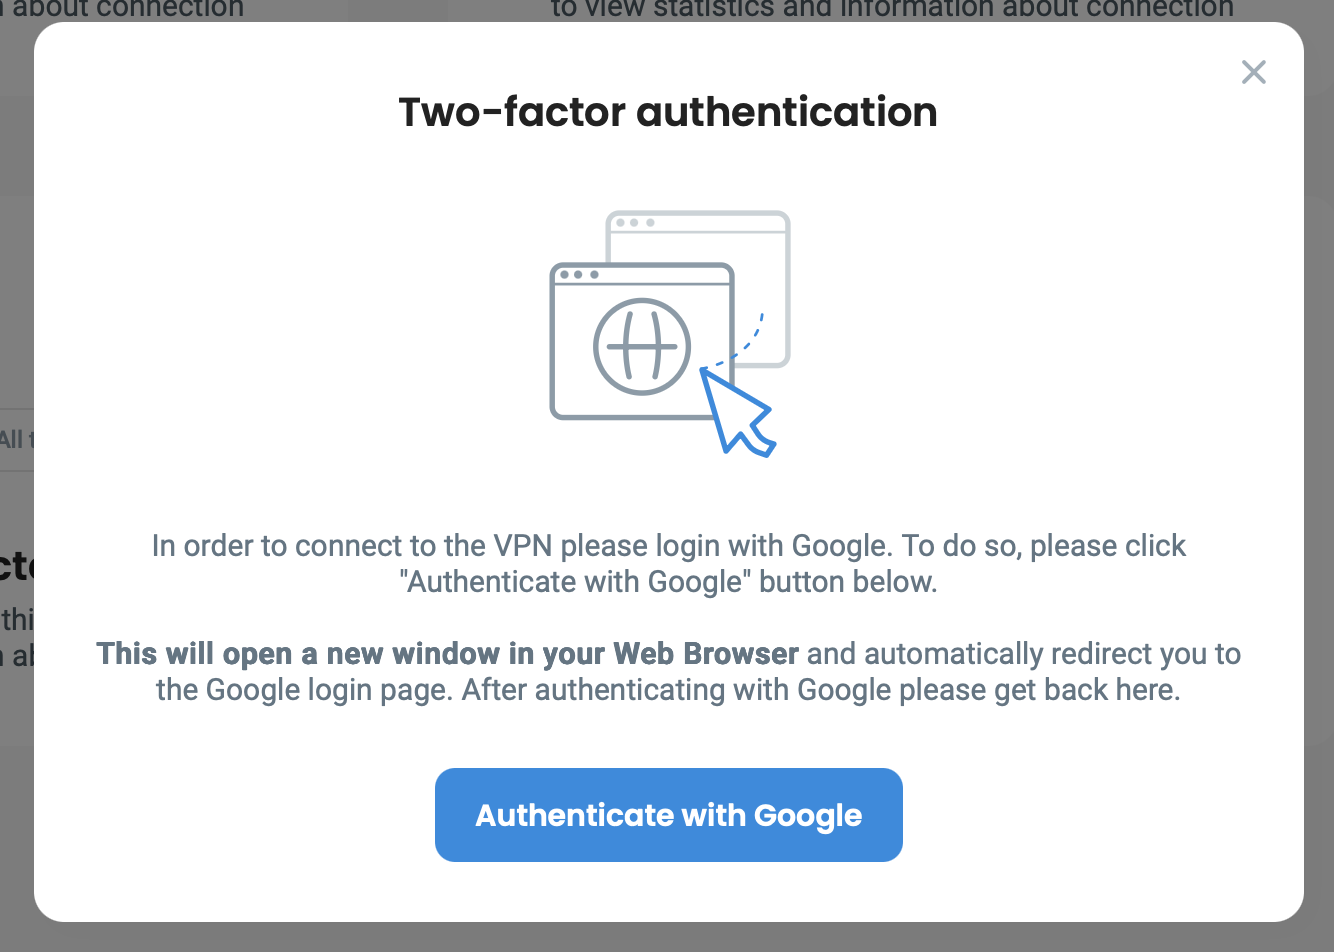
When a location has External MFA enabled, after clicking Connect in the Desktop client ([here you can find information about Mobile Client External MFA](/2.0/using-defguard-for-end-users/mobile-client/instance-connect.md#external-mfa)), there will be information displayed about authentication requirement:
In order to authenticate the user will be prompted to click on Authenticate with your configured OIDC (like Authenticate with Google) - which will open the browser and start the authentication session with your OIDC/SSO provider by the [Defguard Enrollment ](/2.0/using-defguard-for-end-users/enrollment.md)service (which is the only public component).
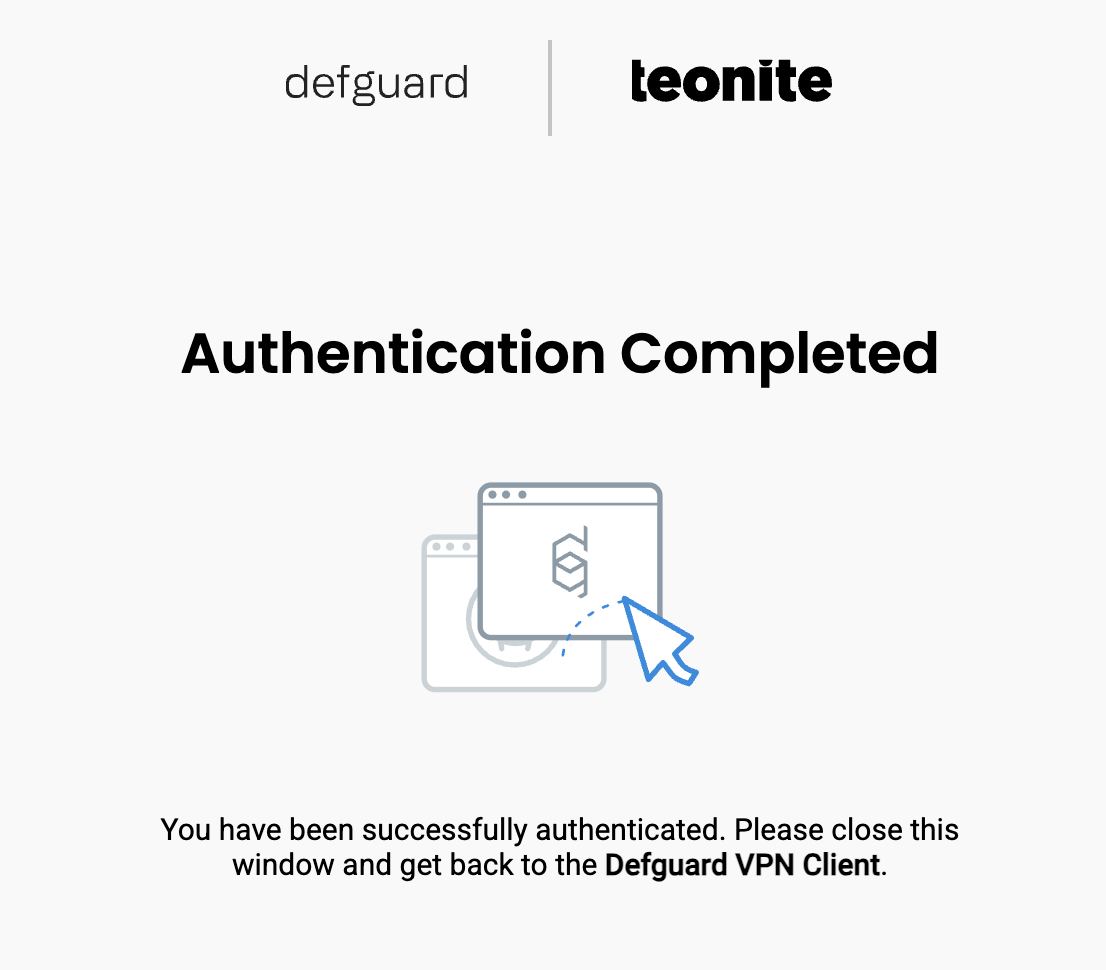
After successful authentication, the user will be informed by the enrollment service like so:
And the VPN should be connected.
Video describing whole process:
{% embed url="" %}
## Biometry as an internal MFA method
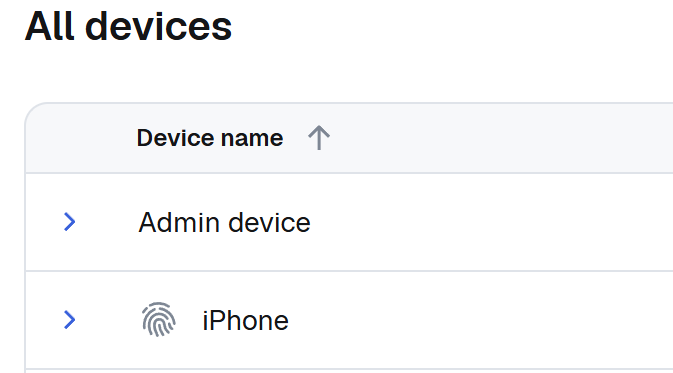
Users can use biometry as an internal MFA method on their mobile devices. If a device has configured biometry as an MFA method, you will see fingerprint icon, next to the device name on devices list within user's profile.